
Designing a TV wall with wood paneling involves considerably more than picking a style you like, since proportion, cable routing, lighting integration, and even how the wall looks with the television turned off all affect whether the final result feels genuinely considered or simply decorative. The most successful media walls are planned holistically from the start rather than assembled piece by piece.
These sixteen design considerations cover the planning decisions that most affect how a wood paneling TV wall actually turns out. Because several of these design choices involve genuine trade-offs, here’s a pros and cons breakdown before the full list.
Pros and Cons of a Full Wall Versus a Contained TV Wall Design
| Pros | Cons |
| • A full-wall treatment makes the strongest design statement and turns the media wall into the room’s clear architectural focal point. • Planning cable routing, outlets, and lighting from the start avoids costly rework and keeps the final result looking fully intentional. • Integrated storage and lighting elevate a media wall from a purely decorative backdrop into a genuinely functional design feature. • A proportionally planned design, considering the TV’s size and the room’s existing architecture, produces a noticeably more cohesive result. • Testing a small sample section before full installation catches design issues early, when they’re far cheaper and easier to correct. | • A full-wall treatment requires a larger material and labor budget than a smaller, contained accent section around just the TV. • Integrating storage, lighting, and cable routing into the initial design adds planning complexity compared to a simple surface-mounted panel. • A design planned too tightly around the current TV’s exact dimensions can require rework if the television is upgraded to a larger size later. • Acoustic considerations in a dedicated media room add another layer of planning beyond the purely visual design decisions. • A complex, multi-feature wall combining a TV, fireplace, and built-ins may require professional design help, adding cost beyond material and labor alone. |
1. Sizing the Panel Wall Proportionally to the TV
A panel section sized to roughly one and a half to two times the television’s width, rather than an arbitrary size, creates a proportional, intentional-looking design rather than a wall treatment that seems disconnected from the screen it surrounds. Measure the TV’s exact dimensions before finalizing the panel layout. This foundational design decision affects how balanced the entire wall reads.
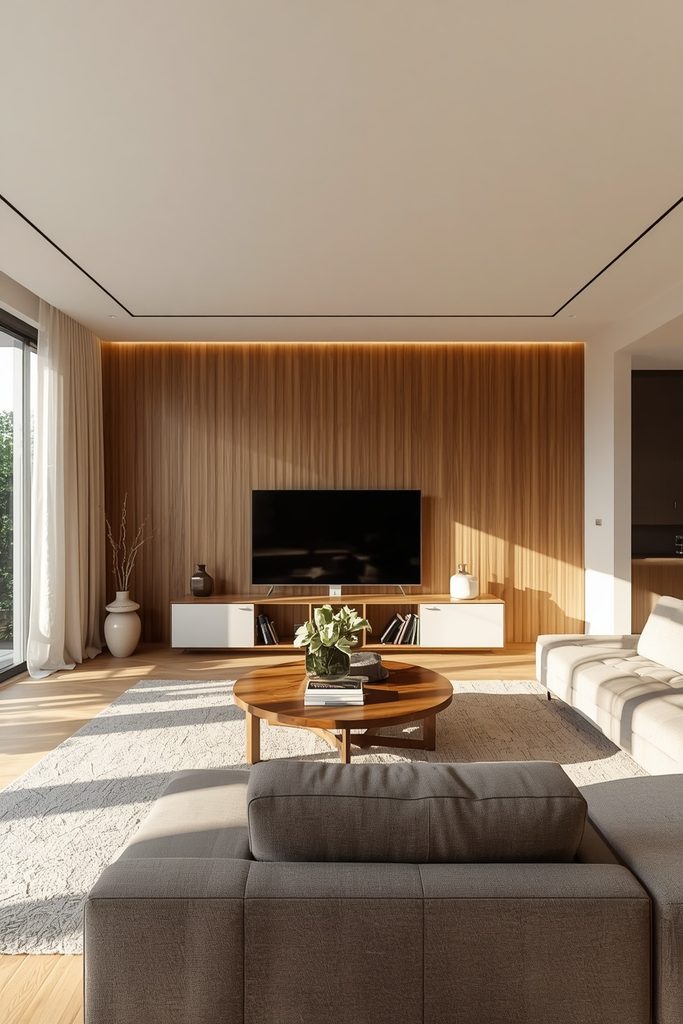
2. Centering the TV on the Panel Pattern, Not Just the Wall
Aligning the television with the center of the panel or slat pattern itself, rather than simply the center of the wall, matters when the wall’s actual center and the room’s natural furniture arrangement don’t align. Plan the panel layout around the TV’s final mounting position from the start. This small planning step prevents an oddly off-center final result.
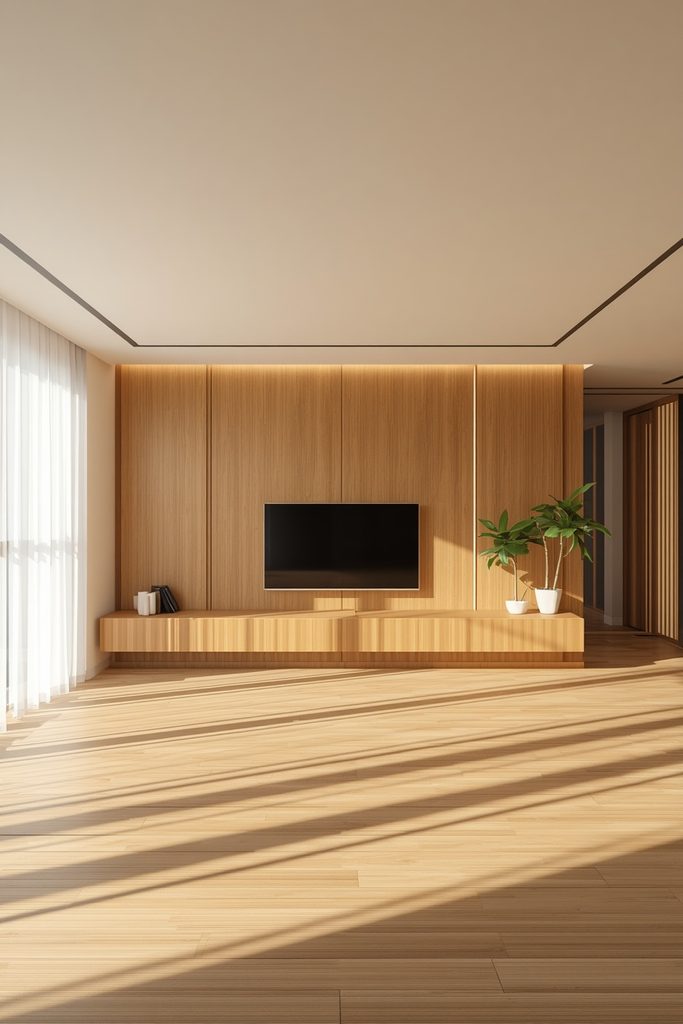
3. Planning Outlet and Cable Routing Before Installing Panels
Mapping out exactly where the TV’s power outlet and cable connections need to pass through the panel wall before any material goes up prevents awkward, visible gaps or modifications after the fact. Consider adding a recessed outlet box specifically designed for behind-TV installations. This upfront planning step is one of the most commonly overlooked parts of a media wall project.
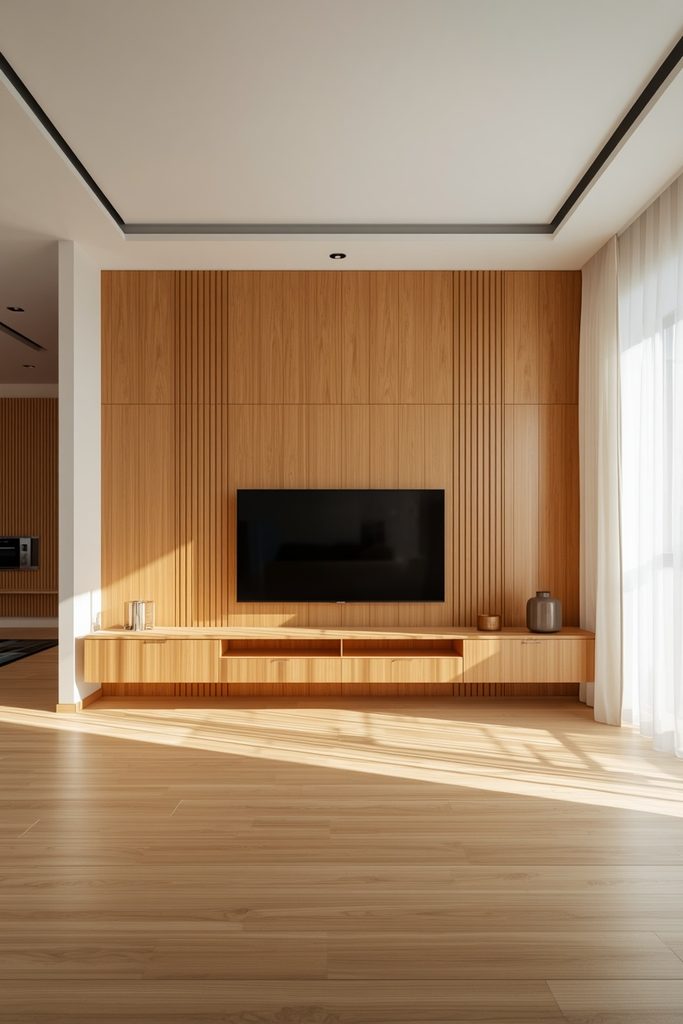
4. Choosing a Panel Depth That Doesn’t Interfere With Mounting Hardware
Selecting a panel or slat material with a depth that accommodates your specific TV mount’s clearance requirements avoids a situation where the television sits awkwardly far from the wall or the mount can’t be properly secured. Check your mount’s specifications against the panel depth before purchasing materials. This technical detail is easy to overlook but important to confirm early.
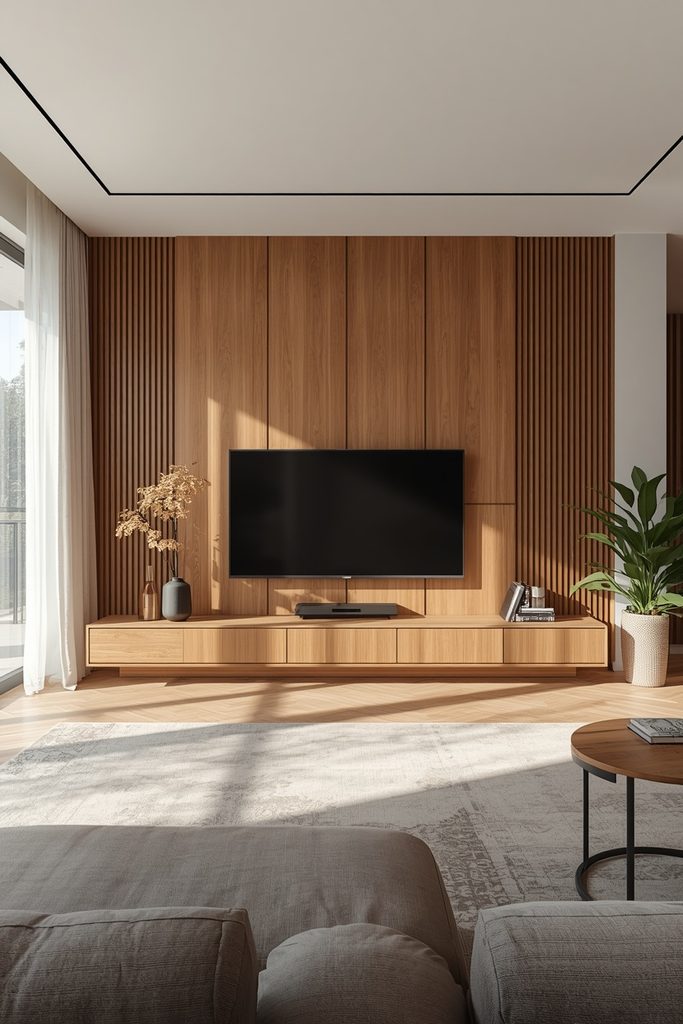
5. Integrating Ambient Lighting Into the Design From the Start
Planning for backlit LED strips, sconces, or other ambient lighting as part of the initial panel wall design, rather than as an afterthought, allows wiring to be properly concealed and the lighting to feel fully integrated rather than added on. Decide on your lighting plan before finalizing the panel layout. This sequencing matters considerably for a clean, professional final result.
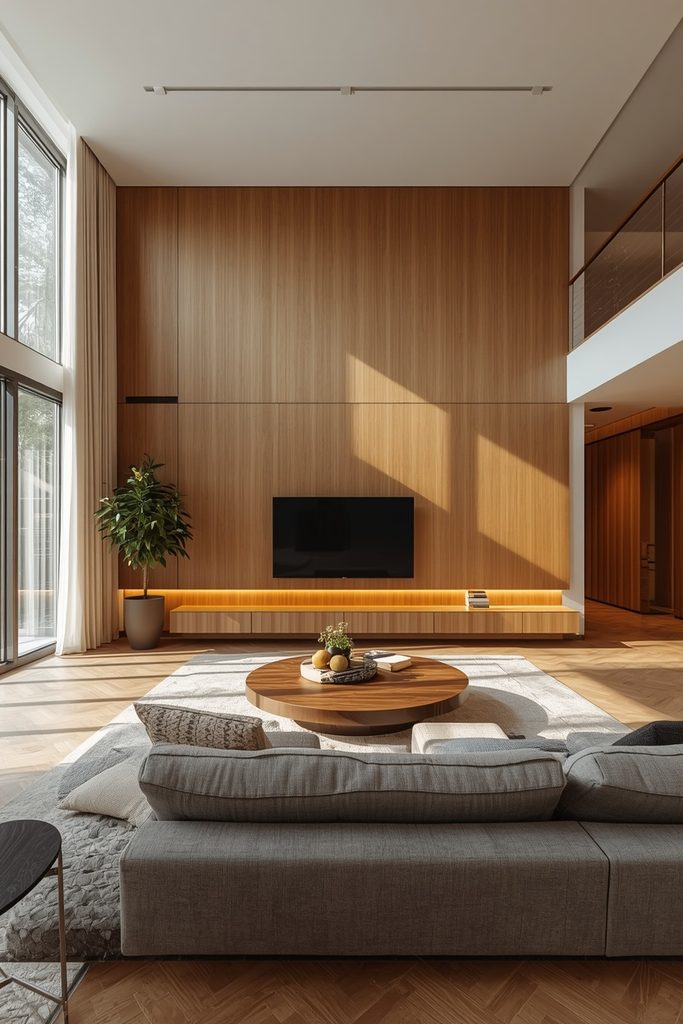
6. Balancing the Panel Wall With the Room’s Existing Furniture Finish
Choosing a panel wood tone that complements rather than clashes with the room’s existing furniture, flooring, and other wood tones ties the whole space together into one cohesive design. Bring a sample of your flooring or furniture finish when selecting panel material. This consideration prevents the media wall from feeling disconnected from the rest of the room.
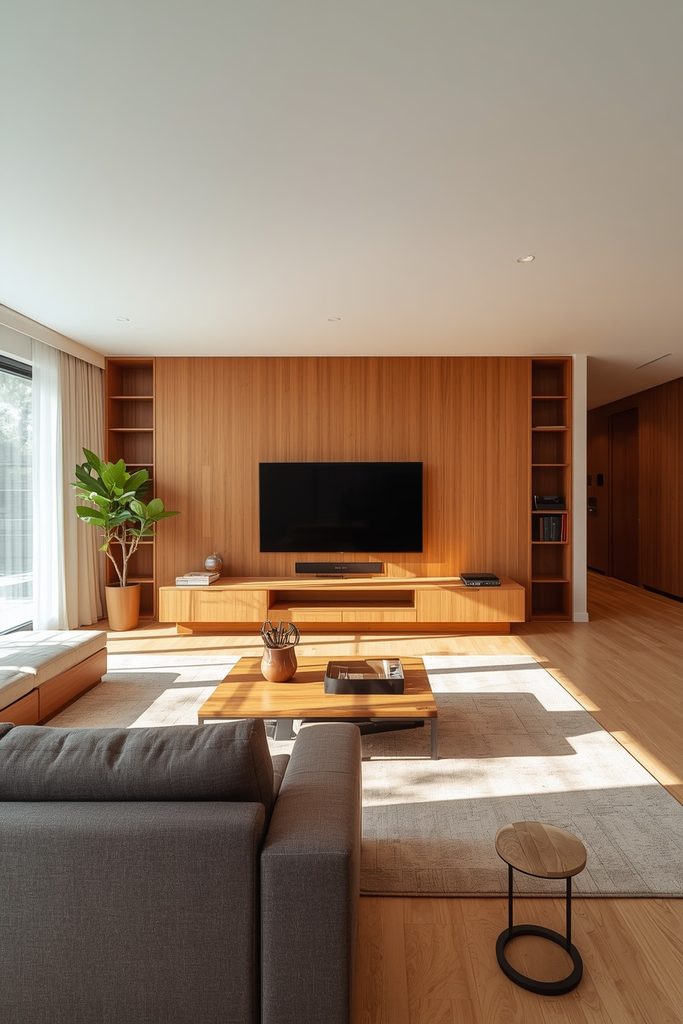
7. Deciding Between a Full Wall and a Contained Accent Section
A full wall treatment makes the strongest design statement but requires a larger budget and more material, while a contained section sized around the TV offers a lower-commitment, lower-cost alternative with a more subtle visual effect. Consider the room’s overall scale and your budget together when making this decision. Neither approach is inherently better, since the right choice depends on the specific room and goals.
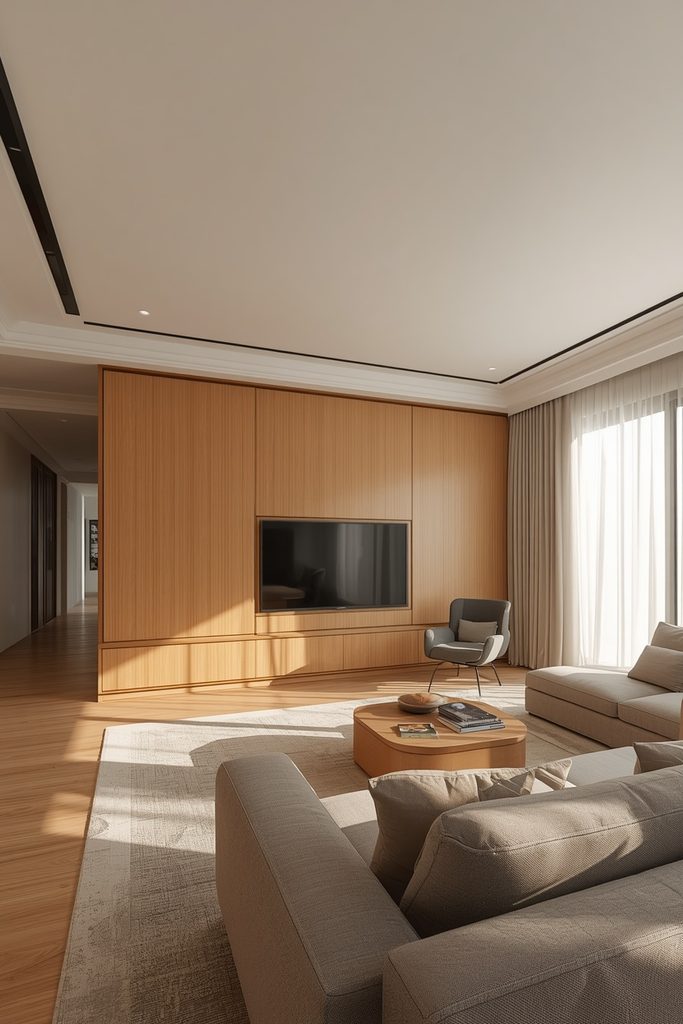
8. Considering Acoustic Impact in a Media-Focused Room
A hard, flat wood panel surface behind the TV and speakers can affect how sound reflects in the room, particularly in a dedicated media or theater space, so considering acoustic treatment alongside the visual design is worth factoring in. Adding acoustic backing behind slat panels addresses both concerns simultaneously. This consideration matters most in a room with a serious home theater sound system.
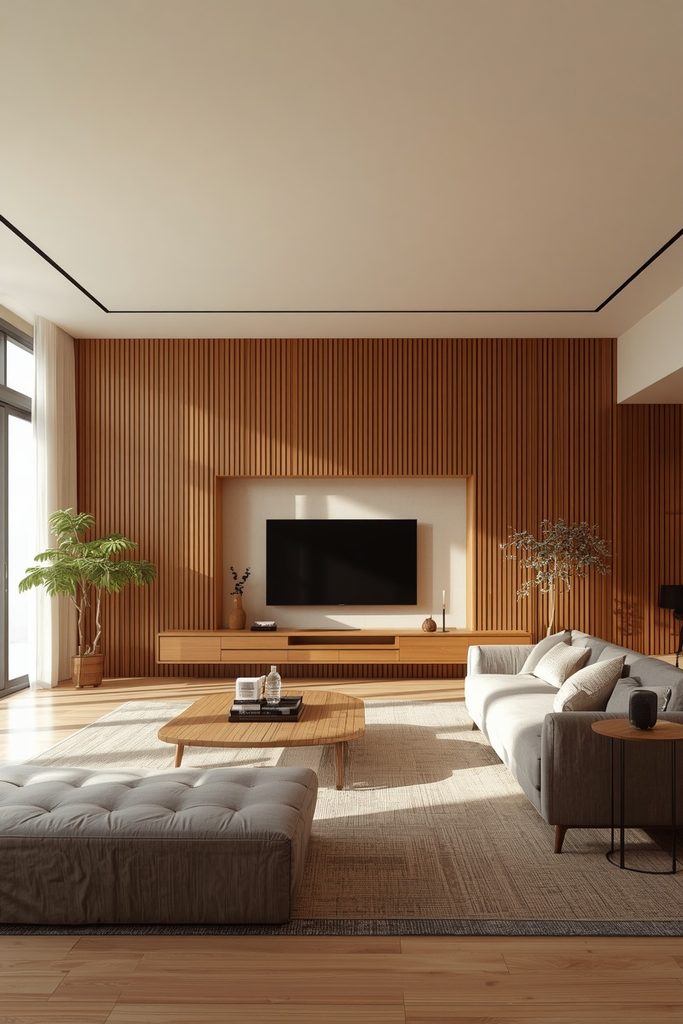
9. Choosing a Design That Still Looks Finished With the TV Off
A media wall design should be considered both with the television on and off, since the TV is frequently a dark, reflective rectangle on the wall for much of the day. A panel design with enough surrounding texture and detail reads as intentional and complete even when the screen itself isn’t the focus. This is a detail many media wall plans overlook until the project is already finished.
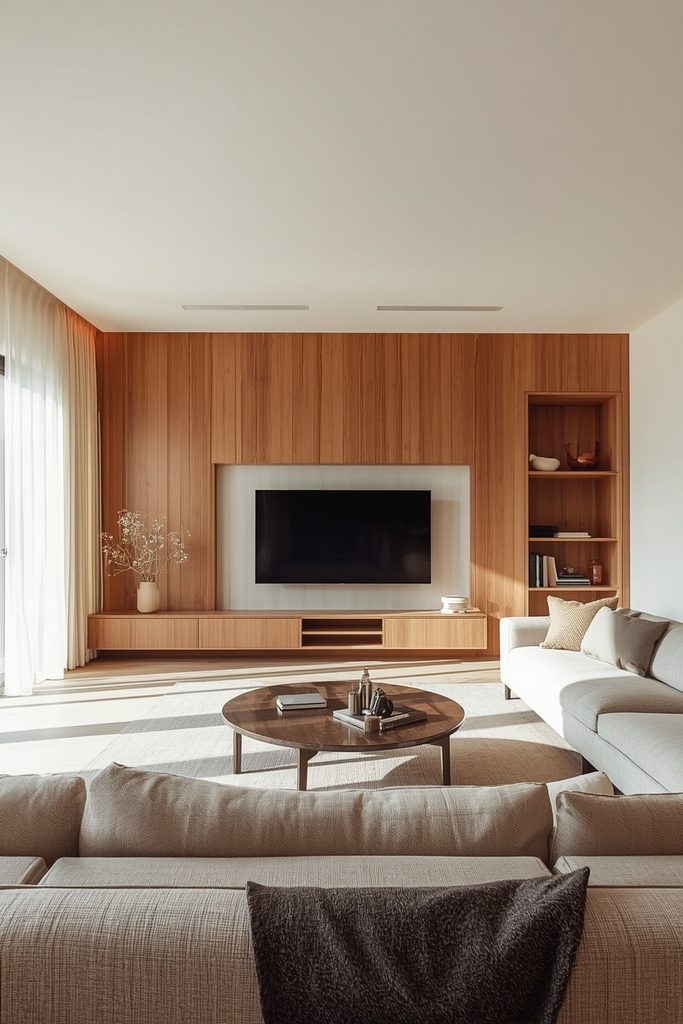
10. Accounting for Future TV Size Changes
Designing the panel wall with a bit of flexibility, rather than sizing everything exactly to your current television’s precise dimensions, makes a future TV upgrade less disruptive to the overall wall design. A slightly larger panel section than strictly necessary accommodates a somewhat larger replacement television later. This forward-thinking consideration can save a renovation headache down the road.
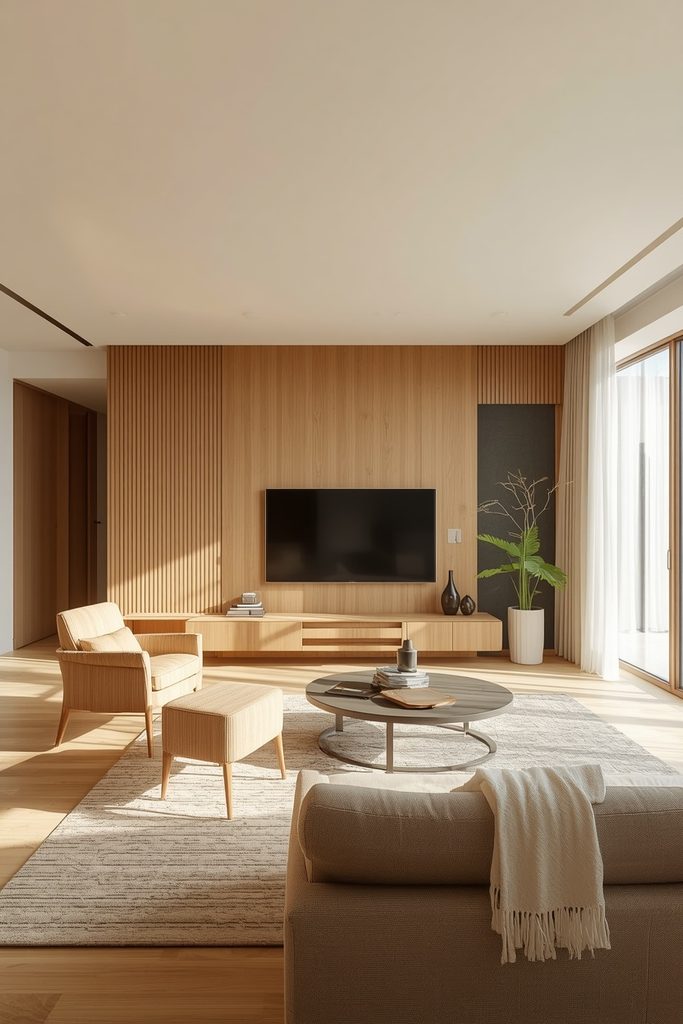
11. Integrating Storage for Media Equipment Within the Design
Planning cabinet or shelf space for a cable box, gaming console, or soundbar directly into the panel wall’s design keeps equipment organized and visually integrated rather than left sitting on a separate, mismatched piece of furniture. Measure all equipment dimensions before finalizing any built-in storage design. This integration is what separates a fully considered media wall from one that’s purely decorative.
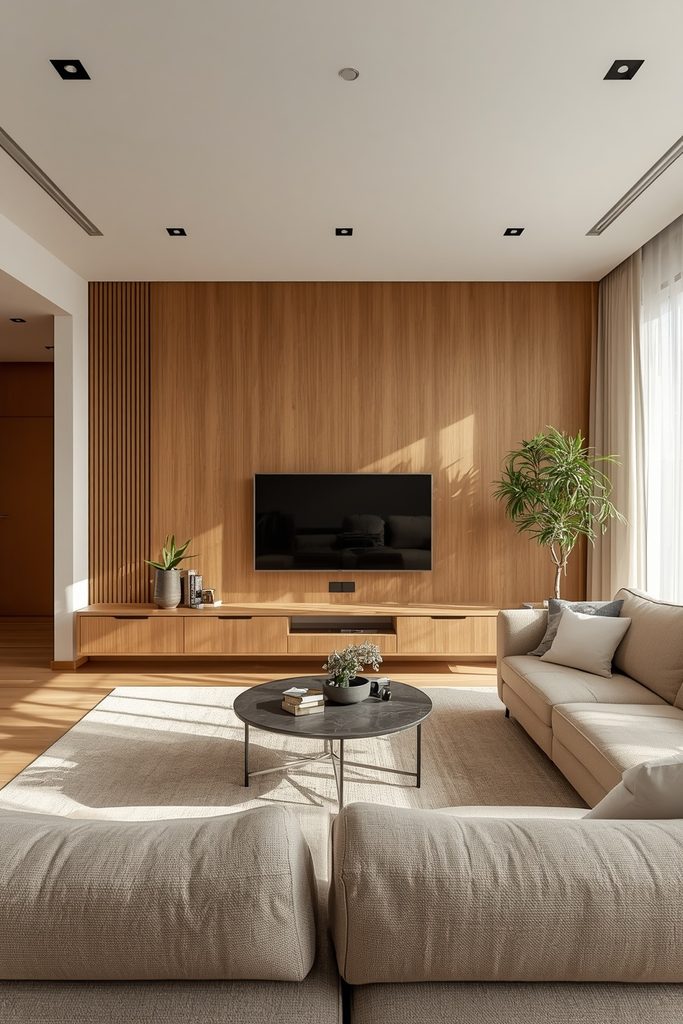
12. Deciding on Symmetrical Versus Asymmetrical Layouts
A symmetrical panel layout, with the TV and any flanking shelves or storage mirrored evenly on both sides, reads as more traditional and formal, while an asymmetrical layout feels more current and relaxed. Consider your room’s overall style and the rest of its furniture arrangement when choosing between the two. Neither approach is correct in every situation, since it depends on the broader design language of the room.
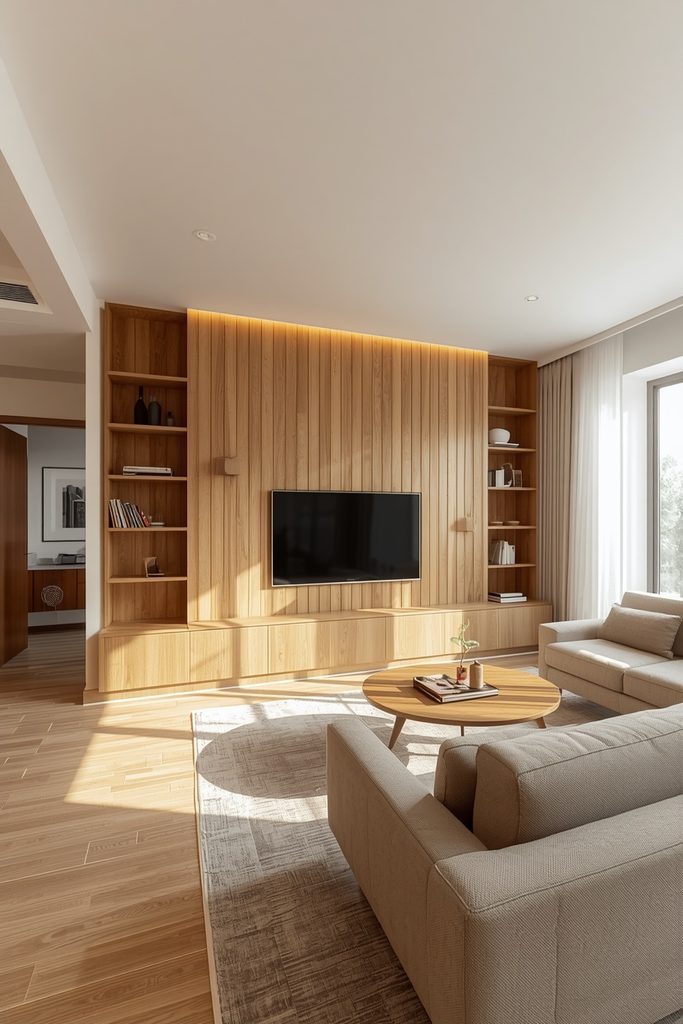
13. Choosing a Finish That Suits the Room’s Light Exposure
A room with limited natural light generally benefits from a lighter panel finish, while a bright, sunlit room can handle a darker, richer tone without feeling closed in. Observe how the room’s light changes throughout the day before committing to a specific wood tone. This consideration prevents choosing a finish that looks different than expected once installed.
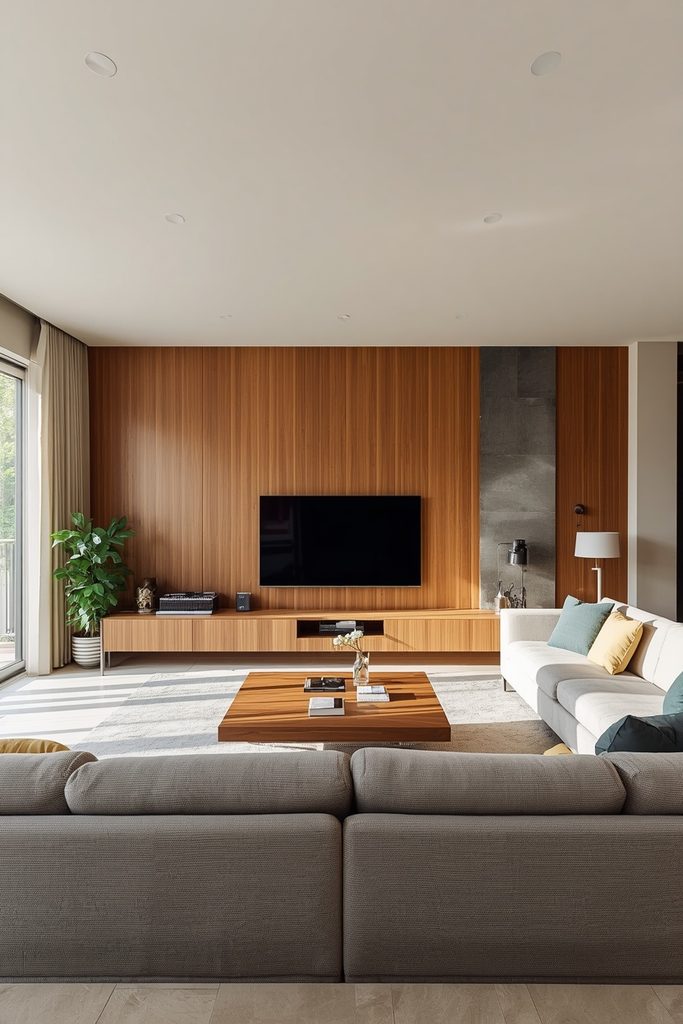
14. Planning the Design Around Existing Architectural Features
Working with existing architectural features, like a window, an alcove, or an adjacent doorway, rather than ignoring them, typically produces a more cohesive result than treating the TV wall as an isolated design project. Measure and sketch the full wall, including all existing features, before finalizing the panel layout. This holistic approach to the wall as a whole, not just the TV area, produces a more considered final design.
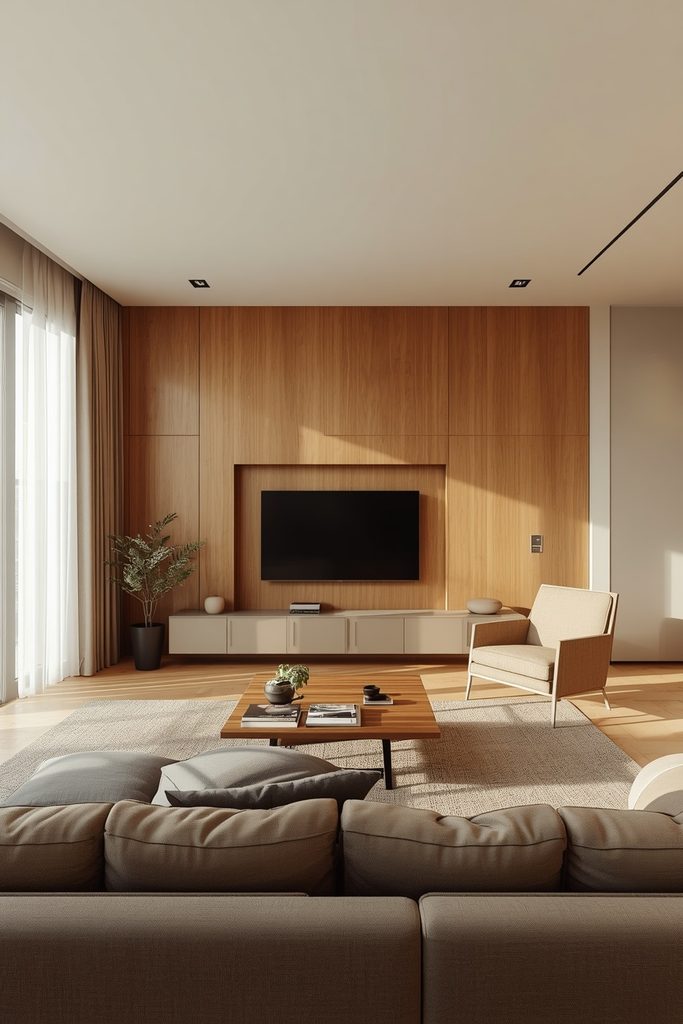
15. Testing the Design Direction With a Small Sample First
Installing a small sample section of your chosen panel style and finish before committing to the full wall lets you see how it actually looks in the room’s specific lighting before a larger investment. This is a low-cost way to catch a design decision that doesn’t work as well in person as it did in a photo or showroom. It’s a worthwhile step for any design choice that’s difficult or costly to reverse.
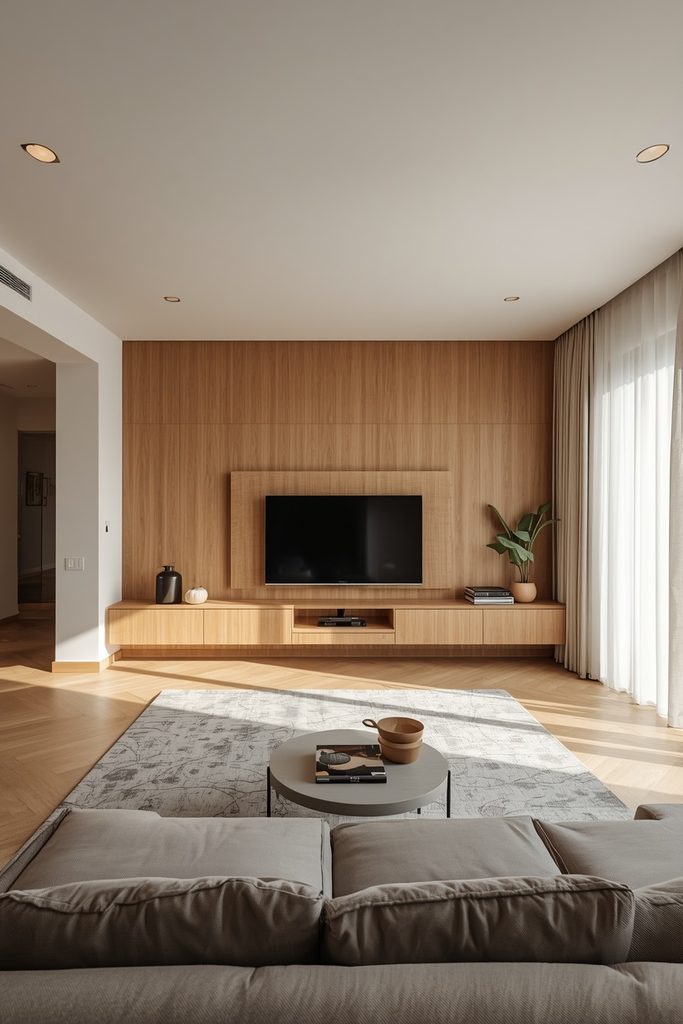
16. Consulting a Designer for a Complex, Multi-Feature Wall
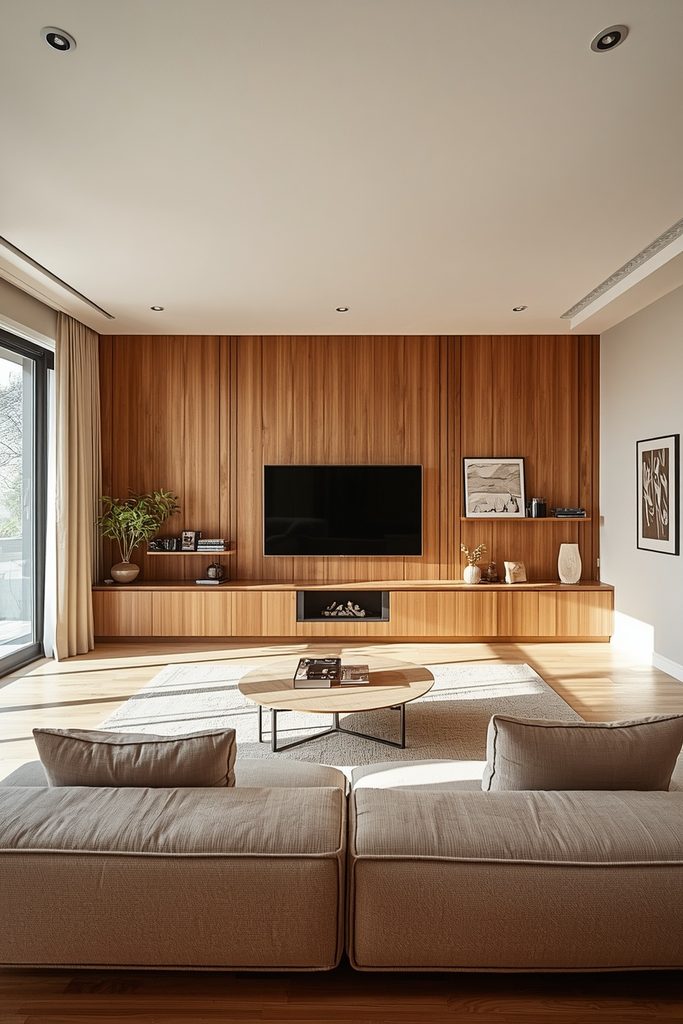
For a wall combining a TV, a fireplace, built-in storage, and integrated lighting all at once, consulting an interior designer or experienced contractor helps ensure all the elements work together proportionally and functionally. This is particularly worthwhile for a higher-budget, more complex project. A professional’s experience with these multi-feature walls can prevent costly redesigns after the fact.
Where I’d Start If I Only Did Three Things
If I were planning a TV wall from scratch, I’d start by sizing the panel wall proportionally to the TV from idea one, since that foundational decision affects how balanced the entire design reads. Second, I’d map out cable and outlet routing before installing anything from idea three, because this is one of the most commonly overlooked planning steps that causes visible problems later. Third, I’d test a small sample section before committing to the full wall from idea fifteen, since it’s a low-cost way to confirm the chosen style and finish actually works in the room’s specific light.
FAQ
How big should the panel wall be relative to my TV?
A panel section sized to roughly one and a half to two times the television’s width generally creates the most proportional, intentional-looking result. Going much smaller can look disconnected from the screen, while a full wall treatment works well when you want the media wall to be the room’s main focal point regardless of the TV’s exact size.
Should I plan for lighting before or after installing the panels?
Planning any backlit or ambient lighting before installation is strongly recommended, since the wiring needs to be routed and concealed behind the panels as they go up. Adding lighting after a plain panel wall is already complete is possible but considerably more difficult and often results in visible wiring or compromises to the clean look.
What’s the biggest mistake people make when designing a TV wall with wood paneling?
Not planning for cable routing and outlet placement before installation is one of the most common issues, often resulting in visible gaps or awkward after-the-fact modifications. Failing to consider how the wall looks with the TV off is a close second, since the screen is dark and reflective for much of the day.
Do I need a professional designer for this kind of project?
A straightforward panel wall around just the television is generally manageable to plan yourself using the considerations in this list. A more complex wall combining a TV, fireplace, built-in storage, and integrated lighting all at once benefits from professional design input to ensure every element works together proportionally and functionally.
Conclusion
A genuinely well-designed TV wall with wood paneling comes from planning proportions, cable routing, lighting, and storage together from the start, rather than treating the panel material as the only design decision that matters. Work through the considerations in this list before finalizing your layout, and the finished media wall will feel like a fully intentional part of the room rather than an afterthought built around the television.