
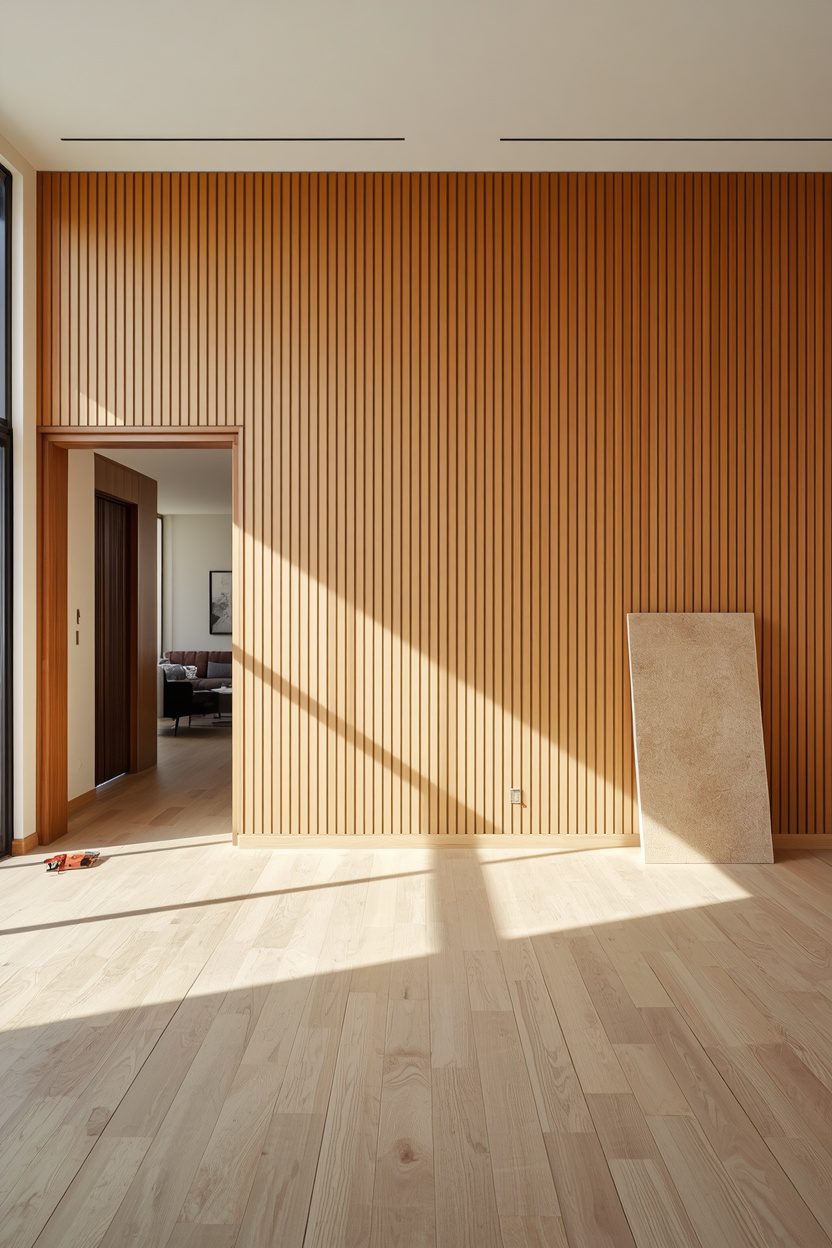
Modern wood paneling looks considerably more complicated to install than it actually is, especially for the slim vertical slat style that defines most current designs. With the right materials, careful measuring, and a straightforward frame-and-attach method, a full accent wall is genuinely achievable in a single weekend.
Below is a complete materials list and step-by-step installation guide for a standard vertical slat wall, followed by ten style variations on the same core technique.
| Materials You’ll Need |
• Wood slats or furring strips, cut to your wall’s height, in your chosen width
• A tape measure, pencil, and a long level
• A miter saw or hand saw for cutting slats to length
• Wood glue and a brad nailer (or construction adhesive if avoiding nail holes)
• Sandpaper (medium and fine grit) for smoothing cut edges
• Wood stain, paint, or a clear sealant for your chosen finish
• A stud finder to locate secure anchor points
• Painter’s tape and drop cloths to protect the surrounding room
| Step-by-Step Installation Guide |
Step 1: Measure and plan your layout. Measure the full height and width of the wall, then decide on your slat width and the gap between each one. Sketch the layout on paper first, adjusting the spacing slightly if needed so the pattern ends evenly at both edges of the wall rather than with an awkwardly narrow final slat.
Step 2: Locate the wall studs. Use a stud finder to mark every stud location along the wall in pencil. These marks are where you’ll eventually secure your slats or backing frame, so accuracy here matters more than almost any other step.
Step 3: Prepare the wall surface. Clean the wall of any dust or debris, and patch any significant holes or damage. A smooth, clean surface helps the slats sit flush and the adhesive bond properly.
Step 4: Cut your slats to length. Using your saw, cut each slat to the wall’s height, sanding any rough edges smooth afterward. If you’re using mixed widths from idea six, cut and sort them into your planned pattern now before moving forward.
Step 5: Finish the slats before installing. Apply your chosen stain, paint, or sealant to each slat before attaching it to the wall. Finishing beforehand gives a cleaner, more even result than trying to paint slats after installation, especially in the gaps between them.
Step 6: Dry-fit your layout on the floor. Lay the finished slats out on the floor in your planned order and spacing to double-check the overall look and measurements before committing anything to the wall. This is the easiest point to catch a spacing mistake.
Step 7: Attach the first slat as your reference point. Starting from one edge of the wall, apply wood glue or construction adhesive to the back of your first slat, then press it into place along your level pencil line. Secure it into the studs with your brad nailer for extra hold.
Step 8: Continue attaching slats using a spacer. Cut a small scrap piece of wood to match your planned gap width, and use it as a spacer between each new slat as you work across the wall. This keeps your spacing perfectly consistent without needing to re-measure every single gap.
Step 9: Check level periodically as you go. Every few slats, use your level to confirm the row is staying straight, since small errors can compound across a full wall if left uncorrected. Adjust immediately if anything starts to drift.
Step 10: Finish the final edge and touch up. Cut your last slat to fit the remaining space, which your careful planning in step one should have made a clean, even width rather than an awkward sliver. Fill any visible nail holes with matching wood filler, touch up the finish if needed, and remove your painter’s tape and drop cloths.
20 Style Variations Using This Same Installation Method
1. Slim Vertical Slats as the Modern Foundation
Slim, evenly spaced vertical slats are the most widely used modern wood paneling style, favoring clean repetition over any carved or molded detail. Choose a slat width between two and four inches for the most current proportion. This is the style most of the step-by-step guide below is built around.

2. A Matte Black-Stained Slat Treatment
Staining slats in a deep matte black rather than a natural tone gives the wall a bold, contemporary edge. Pair it with warm brass accents elsewhere in the room for contrast. This finish choice works with the same installation method as a natural-toned slat wall.

3. Floor-to-Ceiling Coverage With No Visible Trim
Running slats fully from floor to ceiling with no baseboard or crown molding interrupting the surface creates the clean, uninterrupted look central to modern design. This requires precise measuring around any outlets or switches. It’s one of the more advanced applications covered in the installation guide.

4. A Backlit Slat Wall for Ambient Glow
A thin LED strip run behind the slats before final installation adds a soft, even glow along the wall’s edges. Choose a warm-to-neutral color temperature for the most flattering effect. This detail requires planning the electrical work before beginning the framing steps below.

5. A Monochrome Panel and Wall Color Match
Painting the slats the exact same color as the surrounding wall creates a subtle, shadow-based texture rather than a color-contrast effect. This is a quiet, sophisticated modern technique. It uses the same installation steps as a natural wood finish, just with paint instead of stain in the finishing step.

6. Mixed-Width Slats for Visual Rhythm
Alternating between two or three slat widths introduces a subtle rhythm that reads as more custom than a single uniform width. Keep the variation modest for a cohesive result. Planning the width pattern out on paper before cutting is worth the extra time.

7. A Slat Wall Wrapping an Interior Corner
Continuing the slat pattern around an interior corner, rather than stopping at the wall’s edge, creates a more immersive effect. This requires extra care maintaining consistent spacing as the pattern turns. It’s an advanced variation on the standard installation process outlined below.
8. A Slat Wall Behind a Wall-Mounted TV
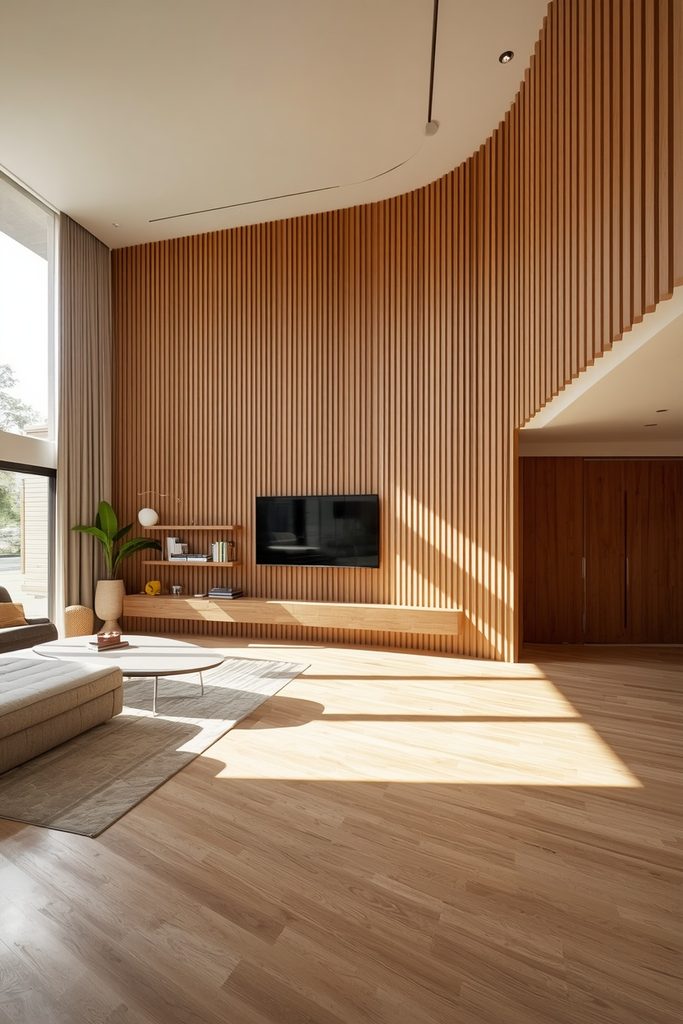
Running slats floor to ceiling behind a mounted television both conceals cable clutter within the gaps and gives the media wall genuine architectural presence. Route and test cables through the frame before attaching the final slats. This is one of the most popular modern applications for the technique.

9. Mixed Wood and Metal Trim Accents
Thin strips of black or brass metal trim placed between sections of slats introduce a mixed-material look associated with current design. Keep the metal accents minimal and evenly spaced. Plan their placement into your measuring step so spacing stays consistent.

10. A Single Small Accent Section as a Starter Project
Limiting the first attempt to a smaller section, like behind a headboard or console, is the ideal way to practice the installation steps below before committing to a full wall. This keeps material costs and the learning curve manageable. Most of the techniques scale up directly once you’re comfortable with a smaller version.

11. A Slat Wall Integrated With Floating Shelves
Building shallow floating shelves directly into the slat frame during installation, rather than mounting them separately afterward, creates a fully integrated look. Plan the shelf bracket locations against your stud map before attaching any slats. This variation adds one extra planning step to the core method above but no fundamentally new technique.

12. A Geometric Chevron Variation
Cutting each slat at a consistent angle, rather than straight, creates a chevron pattern where two rows meet at a point. This requires a miter saw capable of precise angled cuts and more careful dry-fitting before final attachment. It’s a more advanced variation best attempted after successfully completing a standard straight slat wall first.

13. A Two-Tone Slat and Paint Combination
Installing slats only on the lower two-thirds of the wall, then painting a contrasting color above, follows the same core steps but stops the slat installation partway up the wall rather than running floor to ceiling. Mark your stopping height clearly during the measuring step. This variation also reduces total material needed.

14. A Slat Wall Framing a Linear Fireplace
Installing slats around a linear fireplace, leaving an appropriately sized and rated clearance gap, follows the standard method but requires extra care measuring around the fireplace opening itself. Always confirm fire-rated material and clearance requirements before beginning. This variation delivers one of the most striking focal-point results on this list.

15. A Reclaimed Wood Slat Variation
Using reclaimed or salvaged boards instead of new lumber follows the exact same cutting and installation steps, with the main difference being additional prep time to clean, de-nail, and sand the reclaimed material before it’s ready to cut. Inspect each board carefully for structural soundness first. This variation brings genuine texture and history to the finished wall.

16. A Nursery-Scale Accent Using Lighter Wood Tones
Applying the same installation method at a smaller scale, using a lighter, unstained or whitewashed finish, adapts this modern technique for a softer, nursery-appropriate result. Follow the same measuring, cutting, and attaching steps at a reduced wall size. This shows how the core method scales down as easily as it scales up.

17. A Slat Wall With Concealed Door Integration
Extending the slat pattern across a door as well as the surrounding wall, matching the spacing precisely so the door blends in when closed, follows the same core steps with added precision required at the door’s edges and hinges. This is one of the more advanced variations on this list. Careful planning during the dry-fit stage is essential before any cutting begins.

18. A Curved Wall Variation Using Flexible Slats
Following a curved or rounded wall requires a specialized flexible slat product rather than standard rigid lumber, but the underlying measuring, spacing, and attachment logic from the guide still applies. Test the flexible material’s bend radius against your wall’s curve before purchasing the full quantity needed. This is one of the more technically demanding variations covered here.

19. A Slat Ceiling Extension
Continuing the same slats from the wall onto the ceiling, rather than stopping at the top of the wall, follows a similar attachment method but requires securing into ceiling joists rather than wall studs, and extra support to prevent sagging over time. This is a heavier-duty variation best planned with adequate overhead bracing. It delivers one of the most architecturally dramatic results on this entire list.

20. A Room Divider Using the Same Slat Technique
Building a freestanding frame and attaching slats to both sides, rather than mounting directly to an existing wall, adapts the same cutting and spacing method into a movable or fixed room divider. This requires building a stable freestanding or ceiling-anchored frame first. It’s a good final variation for anyone who has mastered the wall-mounted version and wants to try something structurally different.

Where I’d Start If I Only Did Three Things
If I were tackling this for the first time, I’d start with idea ten, a single small accent section, since it lets you practice every step of the installation guide above without the cost or pressure of a full wall. Second, I’d choose the standard slim vertical slats from idea one over any of the more advanced variations, since it’s the most forgiving style for a first attempt. Third, once comfortable, I’d try the backlit version from idea four, since it delivers a dramatically elevated result using the same core steps with just one added layer of planning.
FAQ
How long does a full accent wall take to install using this method?
A single weekend is realistic for a standard-sized wall once you’re following the steps in order, with cutting and finishing typically taking the most time. A smaller accent section, like the one recommended as a starter project, can often be completed in a single day.
Do I need a nail gun, or can I use regular nails or screws?
A brad nailer makes the process faster and leaves smaller, easier-to-fill holes, but regular finish nails and a hammer work as a slower, more budget-friendly alternative. Construction adhesive alone, without any nails, is also an option if you want to avoid wall damage entirely, though it typically requires a longer clamping or drying time.
What if my wall isn’t perfectly straight or level?
Minor imperfections are normal and usually not noticeable once the slats are installed, but establishing a level reference line before you start, as described in step one, helps prevent the pattern from visibly drifting across a larger wall. For a significantly uneven wall, some light sanding or shimming behind individual slats may be needed.
Can I remove this type of paneling later if I move or change my mind?
If installed primarily with construction adhesive rather than nails, removal is more difficult and may damage the wall surface underneath. If you want a fully reversible option, using adhesive mounting strips rated for the slat weight, rather than glue or nails, is worth considering, though it offers less long-term durability.
Conclusion
A modern wood slat wall is one of the more approachable DIY paneling projects once broken into clear, sequential steps, from measuring and stud-finding through cutting, finishing, and final attachment. Follow the guide above for your first project, start small if you’re new to the process, and the same core method scales up to any of the ten style variations covered in this list.