
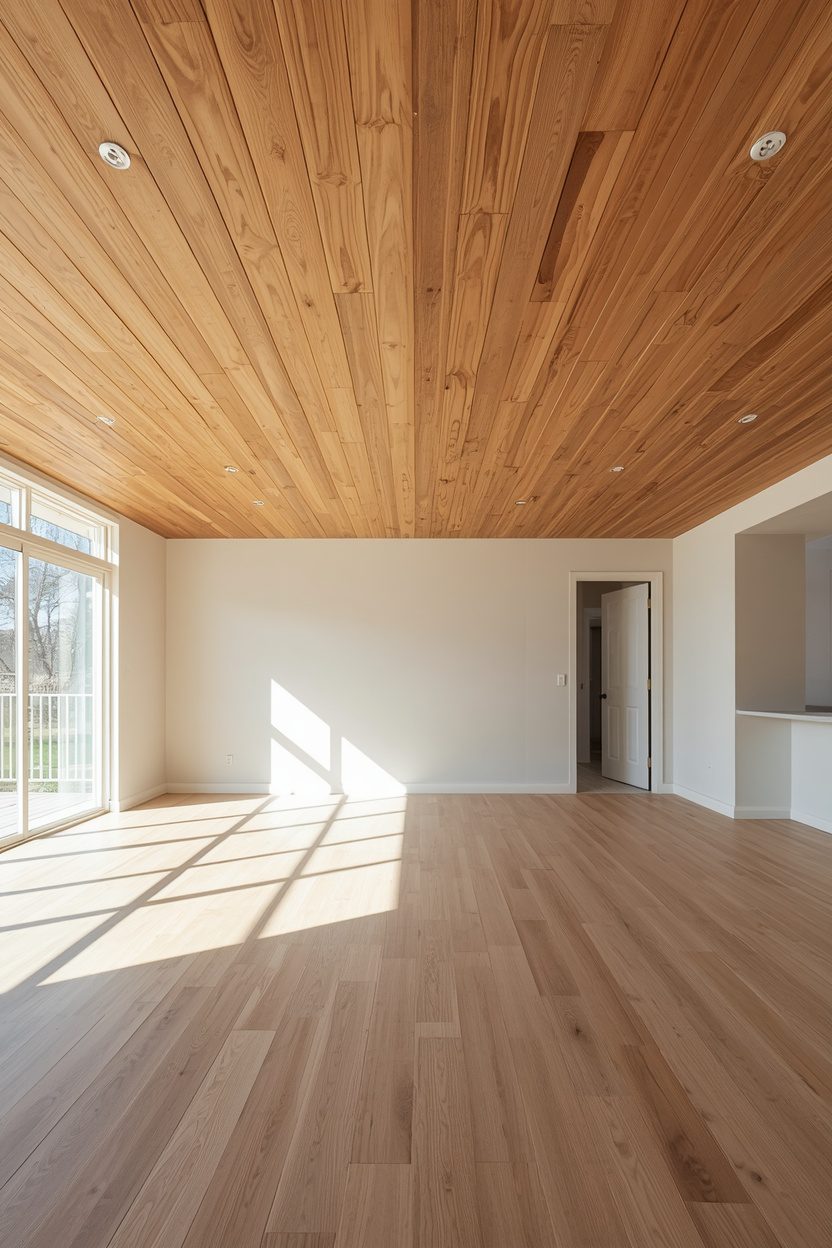
A genuinely expensive-looking wood slat ceiling doesn’t require professional installation or premium materials, since the techniques that separate a polished result from an amateur one are mostly about preparation, precision, and a few small finishing tricks. Pre-finished panels, a laser level, and a consistent spacer block all make a bigger difference than the price tag of the wood itself.
These seventeen ideas cover the specific materials, tools, and techniques that keep a DIY ceiling project both affordable and convincingly high-end. Below are a few tips worth keeping in mind as you plan your project.
| Tips for a Professional-Looking Result on a DIY Budget |
| ★ Tip: Test your full slat pattern on the floor before attaching anything to the ceiling, since this is the easiest point to catch a spacing mistake. |
| ★ Tip: Finish or stain your slats before installation rather than after, for a cleaner, more even result in the gaps between pieces. |
| ★ Tip: Invest in a laser level even for a smaller project — it’s one of the cheapest tools that most reliably prevents a crooked, amateur result. |
| ★ Tip: Choose a slightly wider slat if your ceiling isn’t perfectly flat, since wider slats are more forgiving of minor surface imperfections. |
| ★ Tip: Take a final walkthrough with fresh eyes once you think you’re done — small alignment issues are easy to miss while deep in the project. |
1. Pre-Finished Slat Panels Instead of Raw Lumber
Purchasing pre-finished slat panels, already stained or sealed, skips the time-consuming finishing step entirely while still delivering a polished, expensive-looking result. This costs a bit more per panel than raw lumber but saves significant labor time. It’s a good trade-off for a first-time DIYer who wants a professional finish without the learning curve of staining.

2. Thin Furring Strips From Any Hardware Store
Standard, inexpensive furring strips, sold at any hardware store, create the same slim slat look as purpose-made ceiling panel products at a fraction of the material cost. Sand and finish the strips yourself for a polished result. This is one of the most budget-friendly ways to achieve a convincing slat ceiling look.

3. A Single Accent Section Instead of the Full Ceiling
Limiting the project to one defined section, like above a dining table or a reading nook, rather than the entire ceiling, dramatically reduces material and installation time while still delivering a strong visual statement. Choose the area most visible from the room’s main sightline for the best return. This is the most approachable starting point for a first DIY ceiling project.

4. Using a Laser Level for Perfectly Straight Lines
A laser level projects a continuous straight line across the ceiling, making it considerably easier to keep slat spacing consistent than relying on a tape measure and pencil marks alone. This tool is inexpensive to rent or buy and dramatically reduces the risk of a crooked, amateur-looking result. It’s one of the simplest ways to elevate the finished quality of a DIY project.

5. A Consistent Spacer Block for Even Gaps
Cutting a small scrap block to match your planned gap width and using it as a spacer between each slat ensures perfectly even spacing without needing to re-measure every single gap by hand. This small trick is what separates an amateur-looking result from one that reads as professionally installed. It costs nothing beyond a few minutes of prep work.

6. Pocket Screws for a Cleaner Attachment Method
Using a pocket screw jig to attach slats from an angle, rather than face-nailing through the visible surface, leaves the finished ceiling free of visible nail holes for a cleaner, more expensive-looking result. This requires a modest tool investment but pays off significantly in the final appearance. It’s a favorite technique among experienced DIY renovators for exactly this reason.

7. A Warm Stain Instead of Paint for Richer Depth
A wood stain, rather than solid paint, lets the natural grain show through, which reads as considerably richer and more expensive than a flat painted finish. Choose a stain with warm undertones for the coziest, most high-end effect. Test the stain on a scrap piece first to confirm the exact tone before committing to the full ceiling.
8. Battery-Powered LED Puck Lights Behind Slats
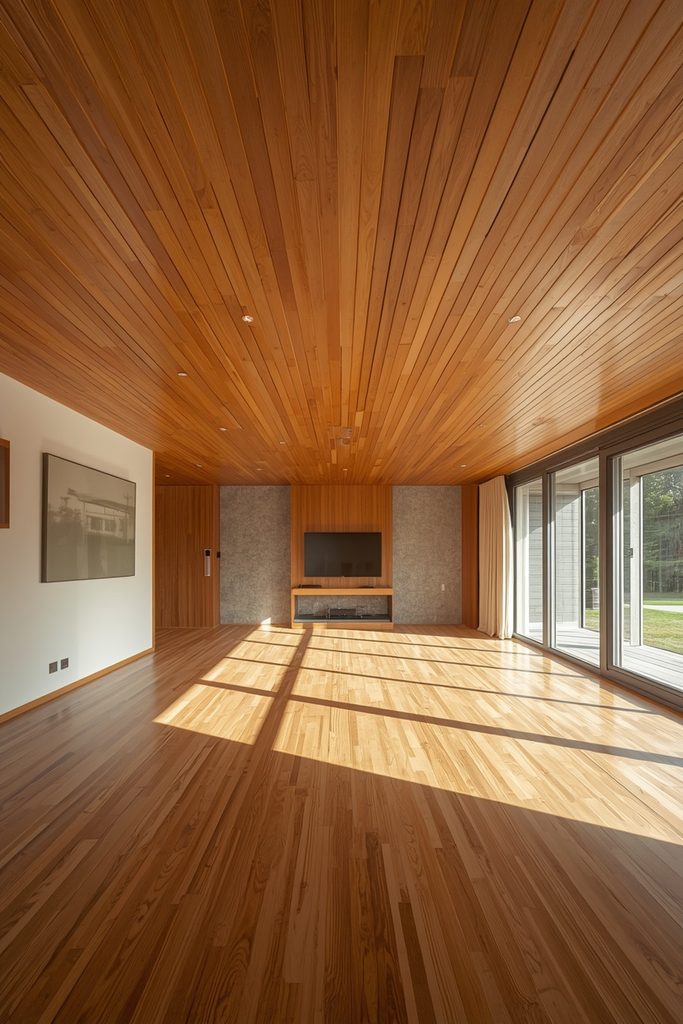
Small, battery-powered LED puck lights tucked behind the slats provide a soft backlit glow without requiring any hardwiring or electrical work, making this lighting upgrade fully accessible for a rental or a lower-skill DIY project. Choose warm-toned lights for the coziest effect. This is a clever way to achieve the backlit look covered in higher-end projects without any electrical expertise.

9. Painting the Ceiling Base a Contrasting Dark Color First
Painting the ceiling surface behind the slats a deep charcoal or black before installation means any small gaps between slats reveal a rich, shadowy depth rather than plain white drywall peeking through. This small prep step meaningfully elevates the finished look for very little added time or cost. It’s a favorite trick among DIY renovators for hiding minor spacing imperfections in the process.

10. A Semi-Gloss Sealant for a Subtle Sheen
Applying a semi-gloss rather than a matte sealant over the finished slats catches light in a way that reads as more polished and considerably more expensive than a flat, matte surface. Apply the sealant evenly across every slat before installation for the most consistent sheen. This finishing choice makes a noticeable difference in photographs specifically, where light reflection reads as quality.

11. Grouping Multiple Small Projects Into One Bulk Material Order
Planning several smaller ceiling accent projects at once and ordering all the material together often qualifies for a bulk discount unavailable when purchasing smaller amounts separately. This requires planning ahead rather than tackling projects one at a time as inspiration strikes. It’s a smart strategy for anyone planning to add slat ceiling accents to more than one room.

12. A Mitered Corner Detail for a Custom Finish
Taking the extra time to miter the corners where slats meet a wall or another slat run, rather than leaving a simple butted joint, gives the finished ceiling a noticeably more custom, professionally installed appearance. This adds modest extra cutting time but very little material cost. It’s a small technique that consistently gets noticed by anyone who looks closely at the finished result.

13. Using Leftover Flooring Planks as Ceiling Slats
Leftover wood flooring planks from a previous renovation, ripped down to your desired slat width, provide free or very low-cost material that’s already finished and ready to install. This works well if you have genuine leftover stock rather than needing to purchase flooring specifically for this purpose. It’s a resourceful way to bring material cost close to zero for a smaller ceiling section.
14. A Community Tool Library for Specialized Equipment
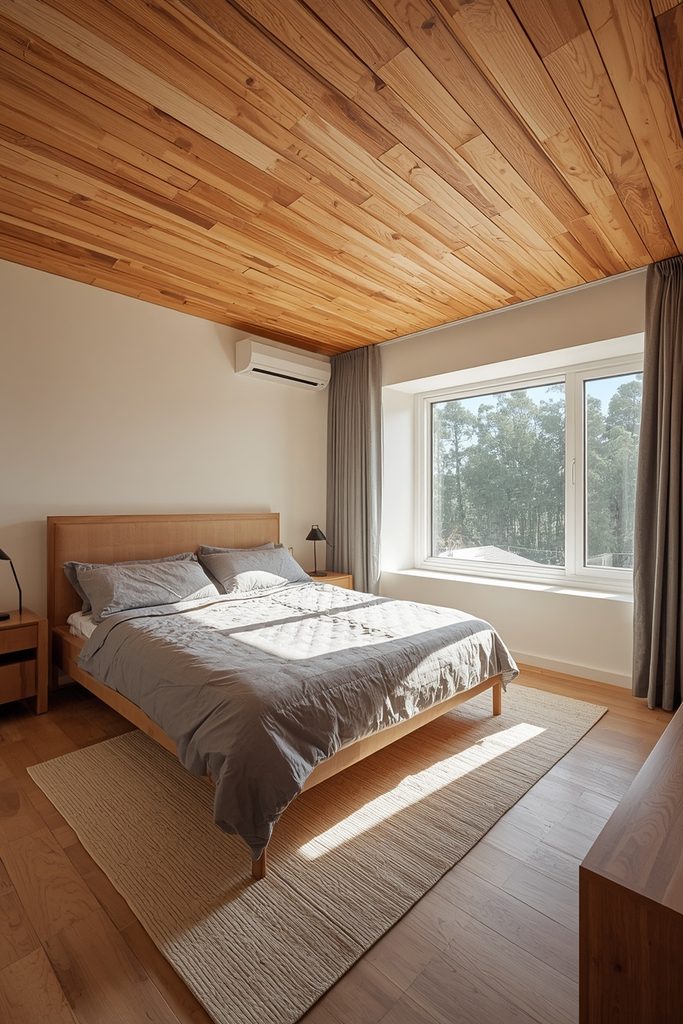
Borrowing a miter saw, laser level, or nail gun from a community tool library or a hardware store’s rental program removes the cost of purchasing specialized equipment for a single project. This is worth checking before assuming these tools need to be bought outright. It’s a genuinely useful way to keep total project cost down without sacrificing installation quality.

15. Testing the Full Pattern on the Floor Before Installing
Laying out the entire finished slat pattern on the floor first, checking spacing and overall look before attaching anything to the ceiling, catches mistakes at the easiest possible point to fix them. This step costs nothing beyond a bit of extra time. Skipping it is one of the most common reasons a DIY ceiling project doesn’t turn out as expected.

16. Choosing a Slat Width That Hides Minor Ceiling Imperfections
A slightly wider slat, rather than a very thin one, is more forgiving of small imperfections in an older or slightly uneven ceiling, since minor variations are less noticeable across a wider surface. This is a practical consideration for anyone working with a ceiling that isn’t perfectly flat. Choosing the right width for your specific ceiling’s condition saves potential frustration during installation.

17. A Final Walk-Through With Fresh Eyes Before Calling It Done
Stepping out of the room and returning with fresh eyes, or asking someone else to take a look, after the installation feels complete often catches a small alignment or finish issue that’s easy to miss while deep in the middle of the project. This costs nothing and takes only a few minutes. It’s a simple final step that helps ensure the finished ceiling actually reads as professionally done rather than merely complete.

Where I’d Start If I Only Did Three Things
If I only had a weekend and a modest budget, I’d start with a single accent section rather than the full ceiling from idea three, since it keeps the project manageable while still delivering a strong result. Second, I’d invest in a laser level from idea four, because it’s one of the cheapest tools that most reliably prevents the crooked, uneven look that immediately signals a DIY project. Third, I’d finish the slats with a warm stain before installing from idea seven, since stained wood grain reads as considerably richer than a flat painted surface.
FAQ
What’s the single most important technique for a professional-looking result?
Consistent, even spacing between slats is the detail most responsible for whether a finished ceiling reads as professionally installed or clearly DIY. Using a spacer block and a laser level together addresses this more reliably than trying to measure and eyeball each gap individually.
Do I need expensive tools to achieve a high-end look?
No, a laser level and a pocket screw jig are the two most impactful tool investments on this list, and both are relatively inexpensive to buy or rent for a single project. Most of the techniques that elevate the final look, like testing the pattern on the floor first or choosing a forgiving slat width, cost nothing beyond time and planning.
Should I stain or paint my DIY slat ceiling?
A stain that lets the natural wood grain show through generally reads as richer and more expensive than a flat painted finish, though paint remains a valid choice for a more modern, monochrome look. If choosing paint, a semi-gloss rather than matte sealant still adds a bit of the reflective quality that helps the finished result read as polished.
How do I hide minor imperfections in an older ceiling?
Choosing a slightly wider slat width is the most effective single adjustment, since minor surface variations are considerably less noticeable across a wider board than a very thin one. Painting the ceiling base a dark color before installation also helps disguise small gaps or unevenness in the spacing between slats.
Conclusion
A DIY wood slat ceiling can look genuinely expensive when the installation relies on the right preparation and small finishing techniques rather than costly materials or professional labor. Test your pattern first, invest in a laser level, finish the wood properly before installing, and the ceiling will read as a considered, high-end feature rather than a weekend project.